 Arthur Alves
Disclaimer: This is merely used as proof of concept rather than a production feature, as there are security points to be taken in consideration for showing private and sensitive data for banking apps and similar applications.
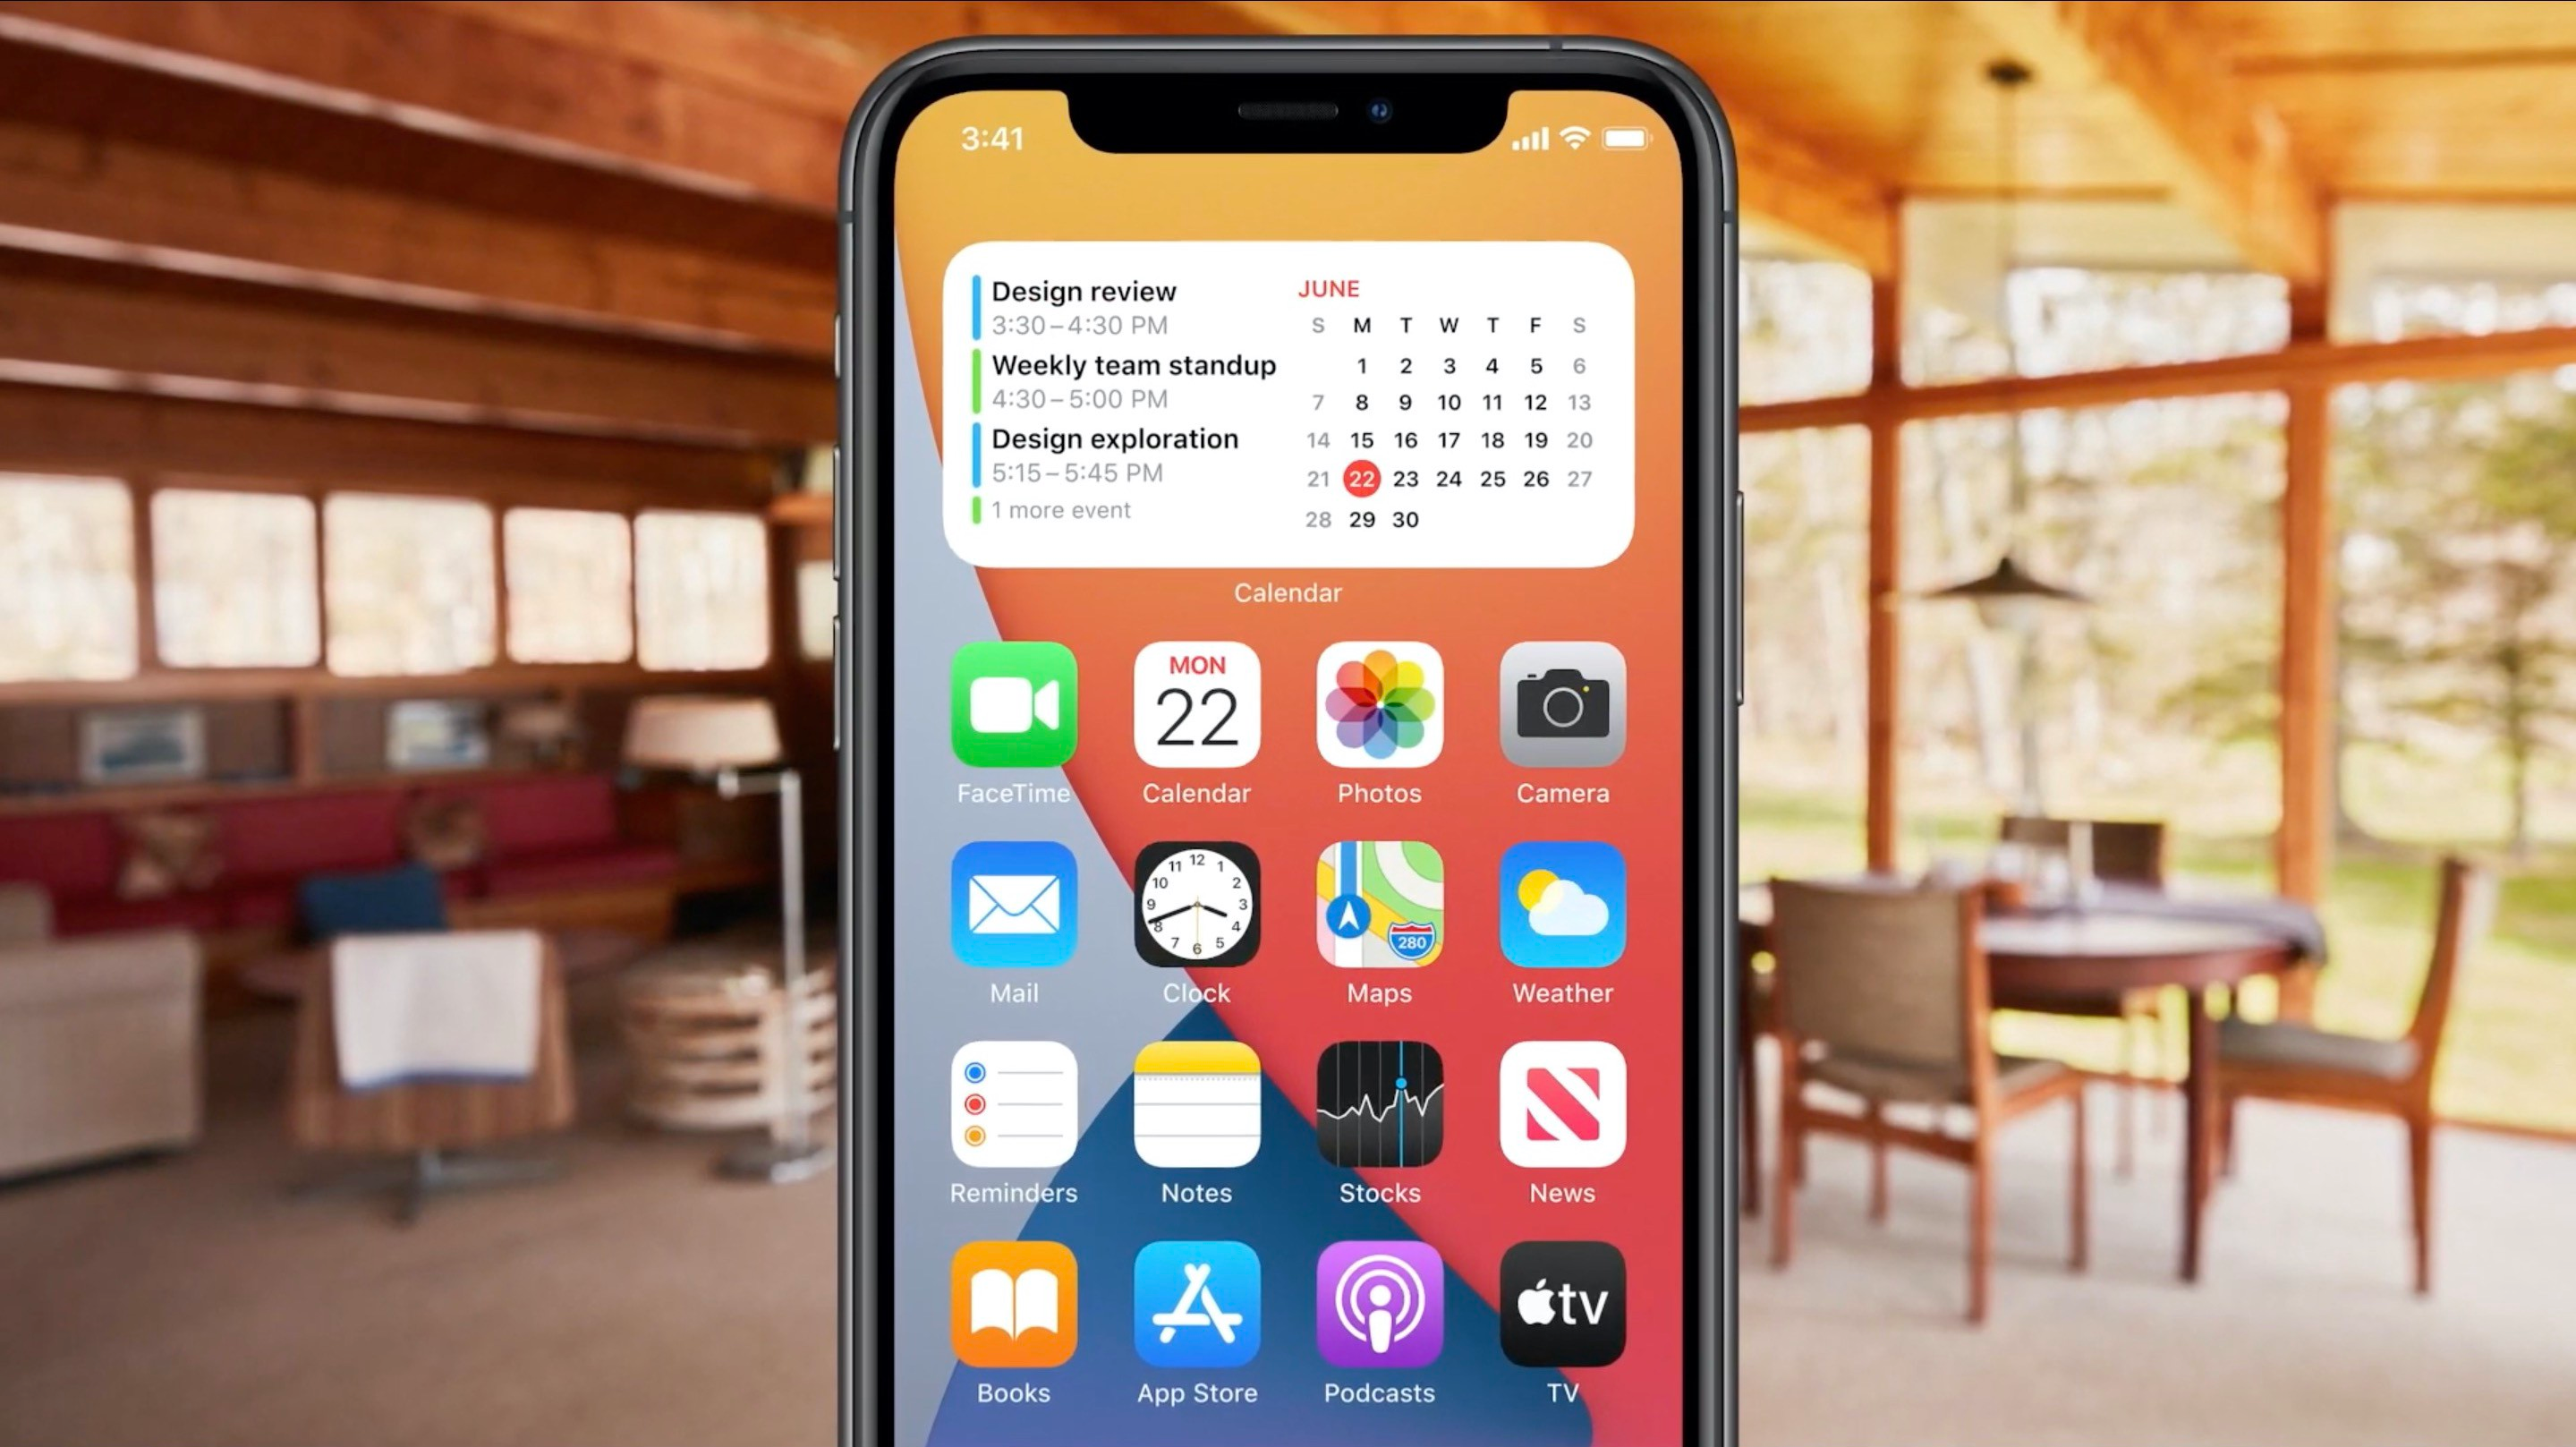
WWDC20 has introduced us to iOS 14, which along other features now include widgets on the home screen. Widgets aren’t new, but now they are totally different - including the way you build them, support up to 3 different sizes and are on the home screen! 😱
Why is this a big deal for us?
Right there on your home screen you have meaningful information from your apps without even opening them. It’s meant to save you time and extend your experience. It’s an extension of your application.
The fact that your apps can now take up to 12 icons spaces with a widget make it the most important iOS feature since forever. It'll give insane engagement and usage to apps that provide valuable widgets. This is the biggest feature in iOS history for apps developers IMO.
— Thomas Ricouard (@Dimillian) June 24, 2020
Things to consider
- Widgets are powered by SwiftUI, building one with UIKit is out of equation;
- They are extensions of your application, building a standalone widget is not possible;
- You can’t interact with a widget other than tapping on it to launch your application - provide read-only information.
What we will build
We’ll assume my banking app has an open API which provides my list of accounts - in banking terms, products - in the following format. Where type is an enumeration of values "main" and "secondary".
Considering we can only have one main account, our widget will show the following details of this account:
	Name
	CurrencySign Balance

	When it was last updated
	SF Symbol (why not?! 🙂)
Our banking app
As a widget can’t exist standalone, I’ve previously built a SwiftUI application to list my accounts - not just the main one. It doesn’t do much other than allowing me to show an accounts upon tapping on it and hidding it by tapping again.
Setup
We now start by creating a new target of Widget Extension.
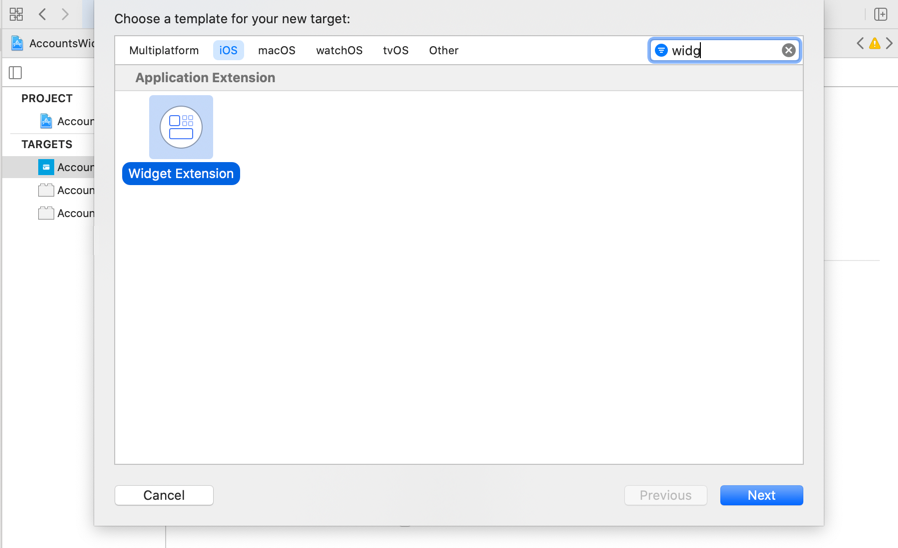
During this process, I’ve named my Widget CurrentAccount and disabled Include Configuration Intent - as I don’t want users to configure/edit the widget but read information from the main account only.
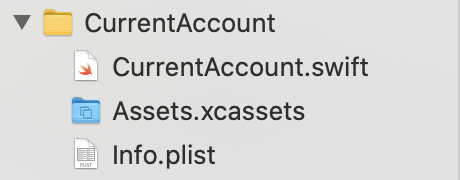
This process will create my target and add the following folder for my project
Now comes the fun part
In CurrentAccount.swift we already have everything we need, a TimelineProvider, a TimelineEntry, a PlaceholderView, a EntryView and our Widget.
Let’s first go through every component in order to understand what they do and why we need them.
TimelineEntry
A widget receives information in time. This information is passed via a timeline entry, which by default needs a date where WidgetKit will render the widget.
Our Widget needs more than that. We’ll create another type of entry which contains our main account (product)
Where Product is a simple struct shared from our main target
TimelineProvider
Now that we have an entry, we need a way to provide this to the widget through time. The timeline provider is responsible for this.
Here you notice it contains two methods, snapshot and timeline. The first is used to configure/render the widget in transient circumstances, think of it as a demonstration with mock data. We’ll therefore implement it like so:
timeline is the method used for the real implementation. It will return on completion an array of your entries to be rendered at a given time. WidgetKit will be able to request multiple timelines, so it’s not necessary to return multiple values in this array if your content is dynamically fetched.
One important thing in the code above is the policy expected when initializing a Timeline. From the documentation we see: The policy that determines the earliest date and time WidgetKit requests a new timeline from a timeline provider. It’s a reload policy which can be:
atEnd- Specifies that WidgetKit requests a new timeline after the last date in a timeline passesnever- Specifies that WidgetKit should never request a new timeline. As an option, the application can still prompt WidgetKit when new timelines are availableafter(_ date: Date)- Pre defines a future date (from the last date in a timeline) that WidgetKit shall request a new one.
Knowing this and the fact that we retrieve a list of accounts for the given moment, our timeline will only return one entry. We’ll make use of policy after(_ date: Date) to specify how many minutes after rendering we shall request a new timeline, therefore making a new request to fetch our data.
We’ll use the current date for the current entry and a future date - 10 minutes apart - where the next timeline will be requested
We’ll have to fetch new data in order to create our entry, since a Product is required. Having our entry, we can create a timeline and complete our implementation
Our entire timeline method looks like:
Our widget will receive a new timeline - containing 1 entry - every 10 minutes.
Widget
The widget is very straight forward. We’ll have to configure minor details, such as display name and description.
Note that this Widget uses a StaticConfiguration, as we don’t want to allow users to configure/edit it. For a configurable widget, there is IntentConfiguration.
Views
As you might have seen, we have a PlaceholderView() and a MainAccountEntryView, that this widget uses. Both are pure SwiftUI views already provided during setup.
PlaceholderView - if the name isn’t clear enough - is used when there is no timeline/entry to render. You can use it to display a generic message.
MainAccountEntryView is used to render your entries, here you want to display the information needed. It contains an entry property which, based on our Provider, contain a Product. We could therefore use product’s information. Example:
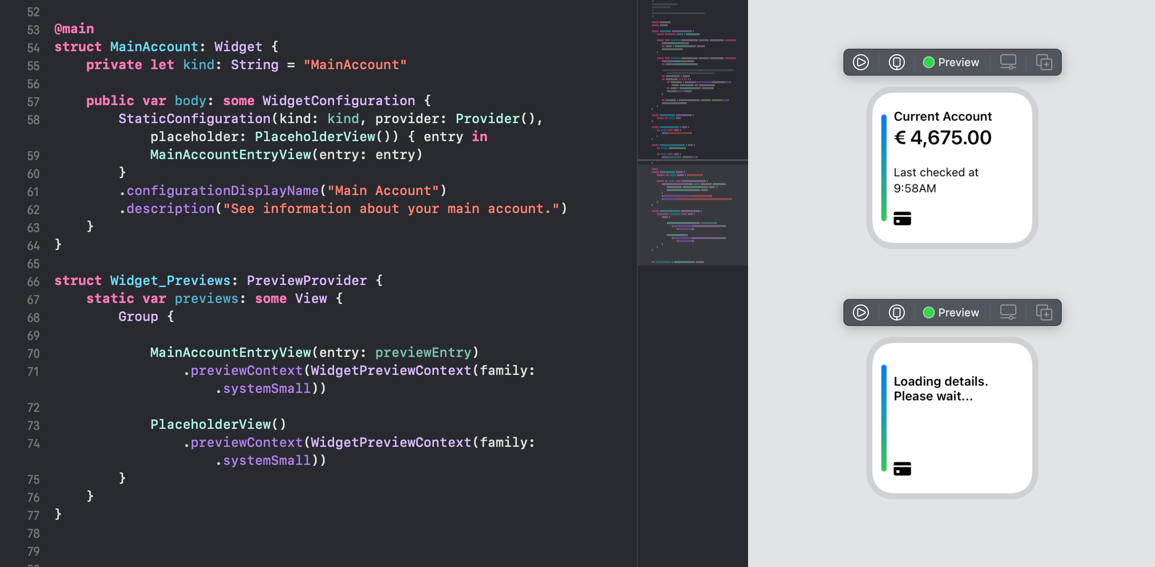
Previews
As for any other SwiftUI view, we can also preview them in Xcode Canvas. We create a PreviewProvider to show multiple previews with a Group, one for our placeholder and another for our entry view.
You can potentially preview multiple MainAccountEntryView using different preview contexts, for instance, for the different widget sizes, .systemSmall, .systemMedium and .systemLarge.
Entry View
You have the freedom - and restrictions 😅 - of SwiftUI to build your placeholder and entry views. Therefore, the focus here isn’t to go in depth there, but this is what I’ve used for the entry view:
The color sets widgetBackgroundColor and widgetBackgroundColor have been added to the Assets and support dark mode 🌙
Supporting Different Sizes
Our widget is now ready in all 3 available sizes. What if you want to change that?
It’s fairly easy with supportedFamilies. Let’s add that to our widget:
Our widget in action

Conclusion
Widgets in the home screen is a powerful feature of iOS 14. We’ve seen how easy it is to create one and improve the user experience of our users. An addition to a static widget is to make it configurable - say, if I’d allow the users to select which account they want to see instead of always the main account, this is possible with the power of intents and an IntentConfiguration, which I’ll try to cover later.